Installing Alacritty, Zellij, and Neovim in macOS
Ever since I saw The Matrix, I’ve wanted to be a hacker.
When I say hacker, I mean having a cool-looking terminal. The kind that makes people think I’m a stealing millions from banks when, in reality, I’m just struggling to exit vim.
I use macOS. The closest I’ve been to being a hacker is using vim hotkeys in VSCode.
It’s not that I haven’t tried to look the part. I was a just one audio driver away from saying “I use Arch btw”. I did succeed with Ubuntu, but honestly, using Linux as my main OS always felt like too much work1. So that didn’t last long.
But, today, after reading about DHH’s Omakub, I though it was time to give my hacker dreams a second shot.
Installing Ubuntu felt like a bit too much work2, so I decided to settle on just upgrading my terminal.
I decided to set up Alacritty, Zellij, and Neovim on my M3 MacBook Pro.
Sure, I have client projects to deliver. But how could I let go of one-in-a-lifetime opportunity to procrastinate and imagine I’m a genius hacker for an afternoon?
Installing Alacritty
Alacritty is a terminal emulator, similar to Iterm2 and others. It’s selling point is that it’s very fast due to GPU-acceleration. Plus, you also get 256 colors support by default.
The best way to install it is using Homebrew:
Then, you you can customize it to your liking by creating a ~/.config/alacritty/alacritty.toml file.
I ended up modifying just a couple of things:
- Increase padding.
- Change the font.
- Change the color scheme. I used One Dark from this gist.
Show the code
[window]
padding.x = 16
padding.y = 14
decorations = "none" # Removes the window decoration (title bar, etc.)

[font]
size = 13

# FiraCode Nerd Font
normal = { family = "FiraCode Nerd Font", style = "Regular" }
bold = { family = "FiraCode Nerd Font", style = "Bold" }
italic = { family = "FiraCode Nerd Font", style = "Italic" }

# One Dark theme
[colors]
[colors.primary]
background = '0x1e2127'
foreground = '0xabb2bf'
bright_foreground = '0xe6efff'

# Normal colors
[colors.normal]
black = '0x1e2127'
red = '0xe06c75'
green = '0x98c379'
yellow = '0xd19a66'
blue = '0x61afef'
magenta = '0xc678dd'
cyan = '0x56b6c2'
white = '0x828791'

# Bright colors
[colors.bright]
black = '0x5c6370'
red = '0xe06c75'
green = '0x98c379'
yellow = '0xd19a66'
blue = '0x61afef'
magenta = '0xc678dd'
cyan = '0x56b6c2'
white = '0xe6efff'

# Dim colors
[colors.dim]
black = '0x1e2127'
red = '0xe06c75'
green = '0x98c379'
yellow = '0xd19a66'
blue = '0x61afef'
magenta = '0xc678dd'
cyan = '0x56b6c2'
white = '0x828791'
I use FiraCode Nerd Font. Nerd Fonts are a collection of fonts that include glyphs such as icons that represent folders, file types, weird arrows, etc.
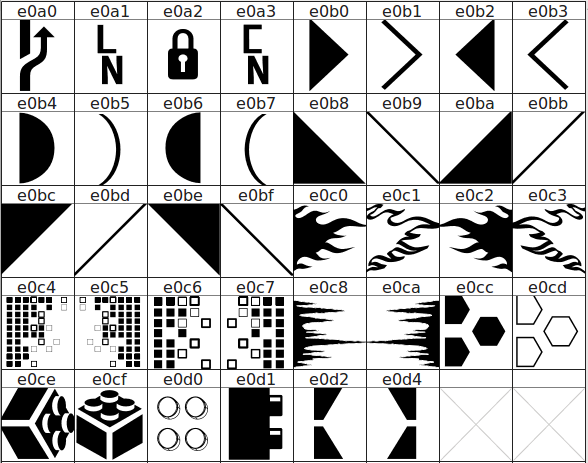
You can install them using Homebrew:
Installing Zellij
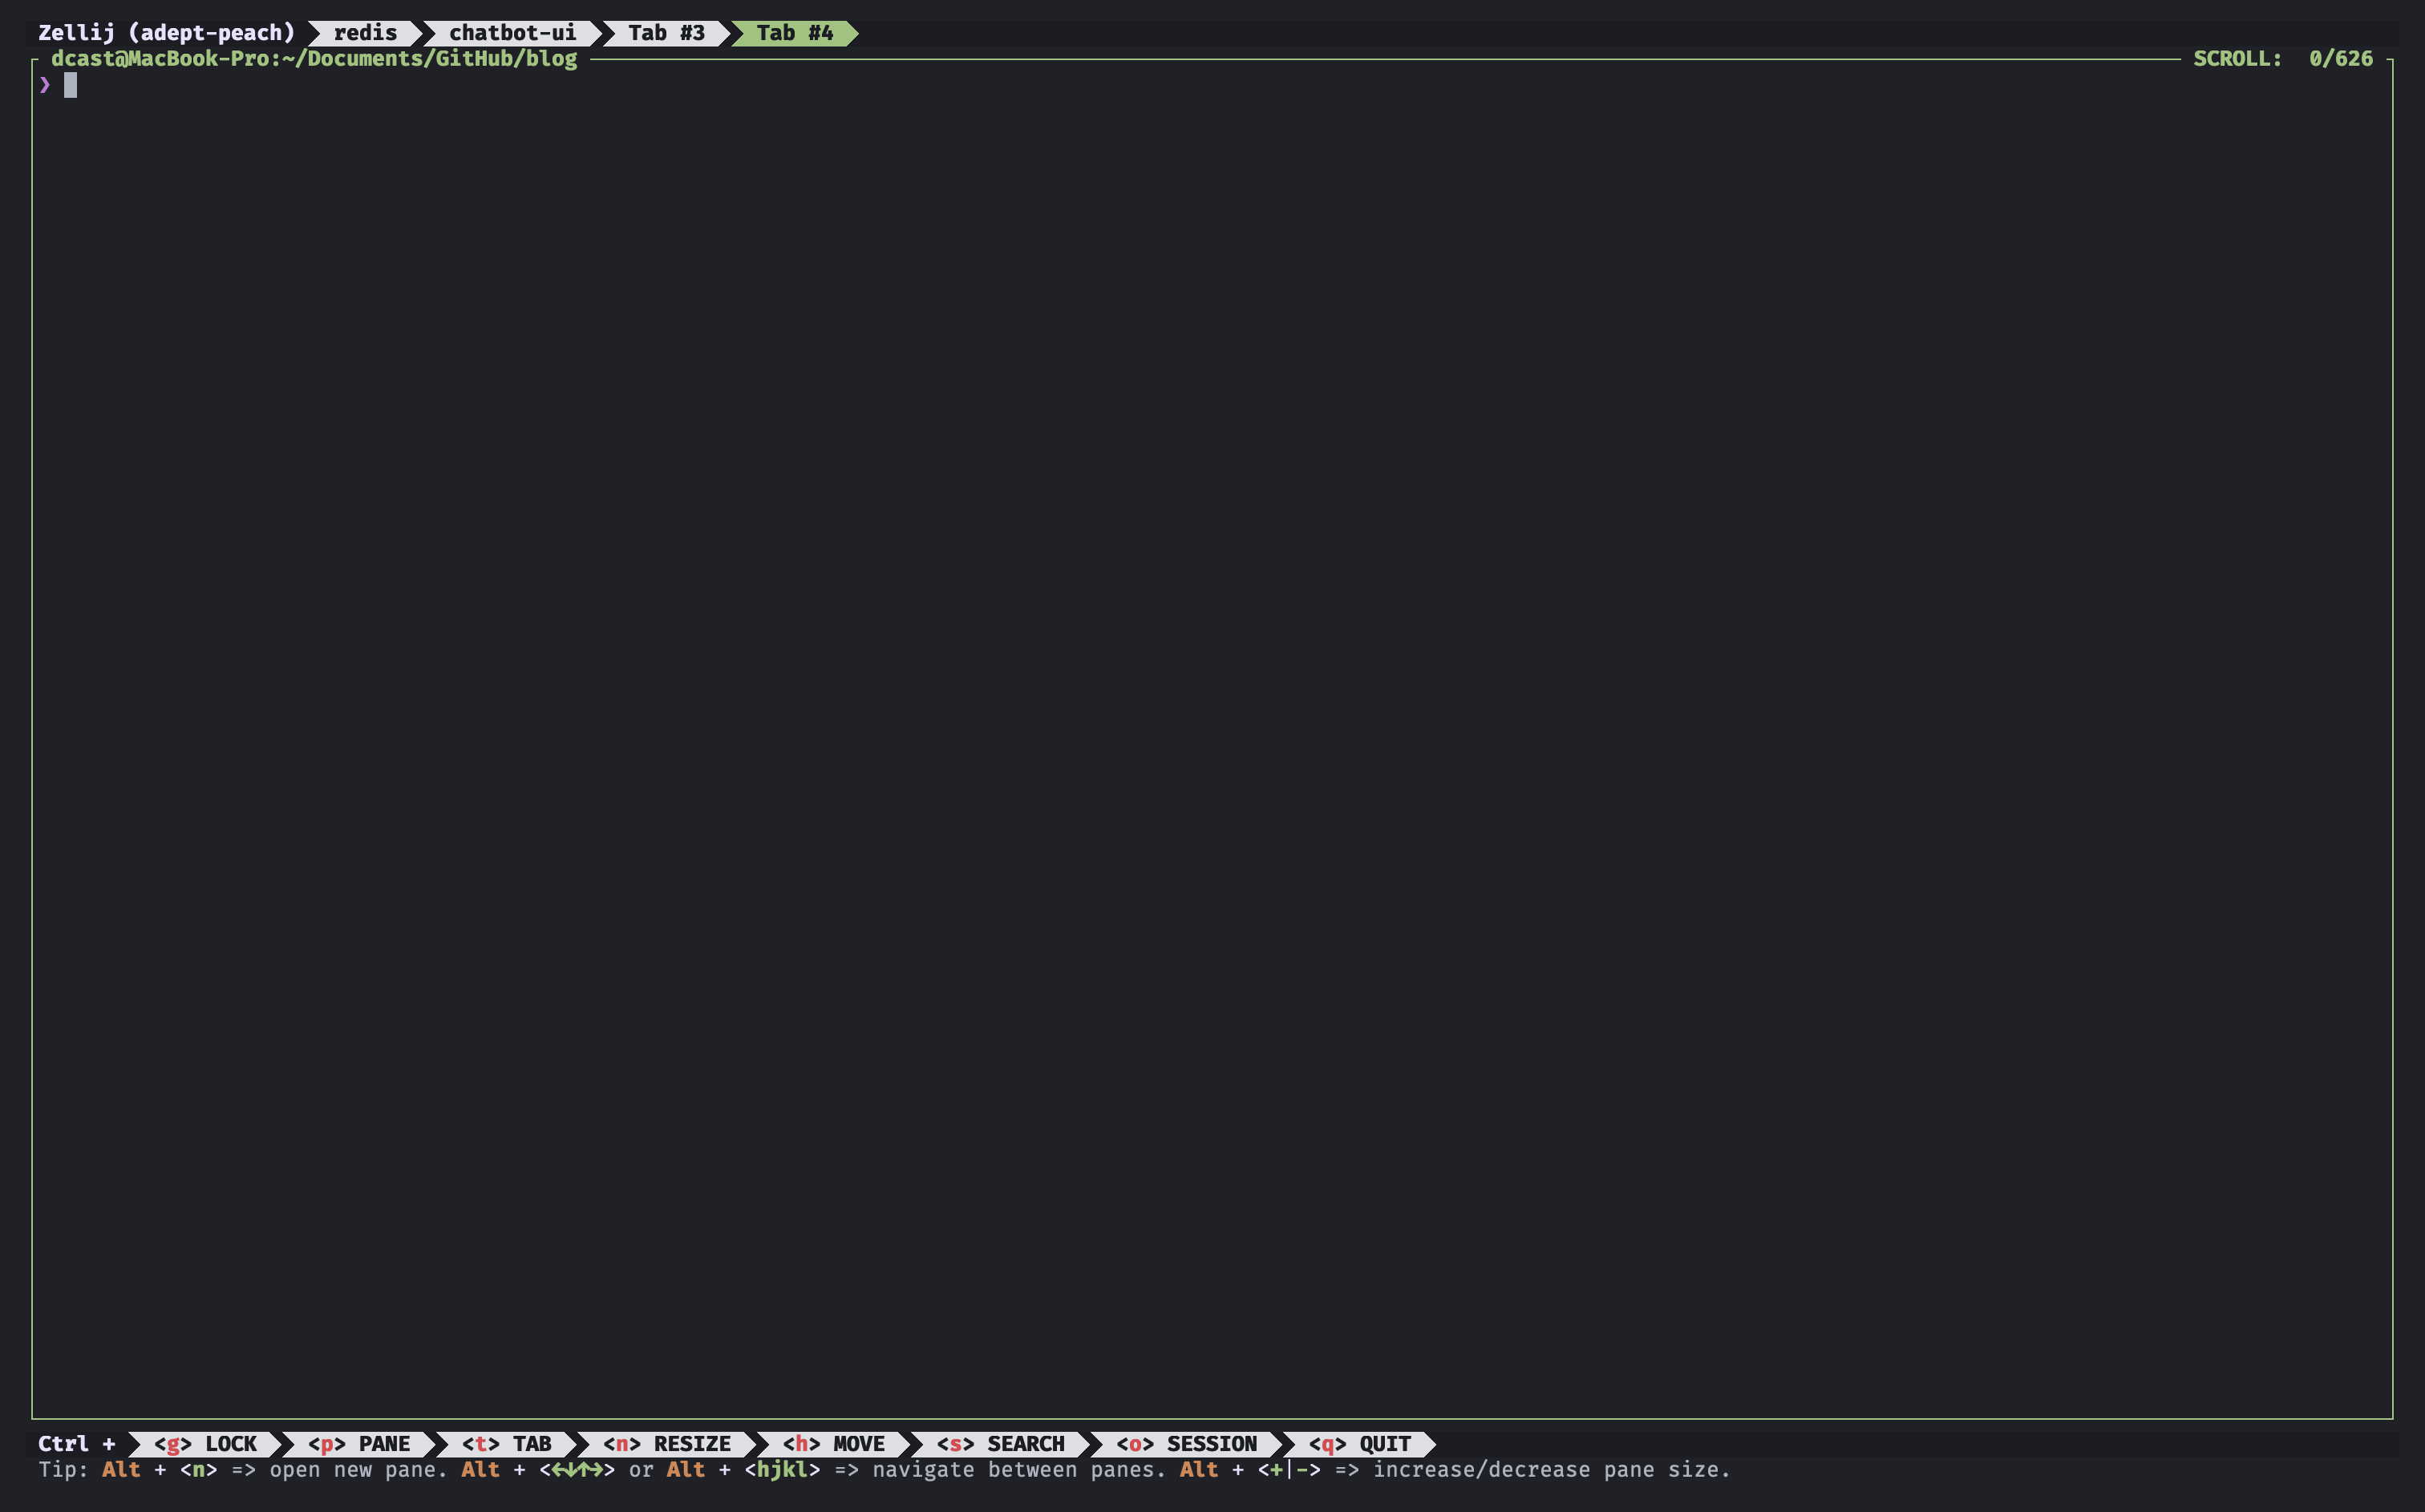
Zellij is an improved version of tmux. Whenever I used tmux, I spent half my time figuring out the key bindings. Zellij shows the key bindings on screen (unless you disable it), which greatly improves the user experience.
This is what it looks like:
Same as before, the best way to install it is using Homebrew.
You can customize it by creating a ~/.config/zellij/config.kdl file.
I just copied the One Half Dark theme they provide.
Is One Half Dark the same as One Dark? I don’t really know. I like to live dangerously.
Making Zellij play nice with Alacritty
Getting Alacritty to work with Zellij took me a while to figure out. But luckily it’s as simple as adding the full path to the zellij binary in the ~/.config/alacritty/alacritty.toml file.
Installing Neovim and LazyVim
Neovim is a fork from Vim, that solves some of Vim’s issues3. I didn’t really know if it was better or worse than Vim, but given that DHH recommended it, I thought it was a good idea to give it a shot.
LazyVim is a premade configuration for Neovim. The purists will probably hate it, but it’s a good start.
I had my own .vimrc, and after trying LazyVim for 30 minutes or so, I realized my config sucked.
First, install Neovim using Homebrew.
Then, install LazyVim.
So far, I’ve only made a few changes:
- Installed Copilot, CopilotChat, and mini-surround.
- Installed One Dark color scheme.
The plugins I mentioned are available in :LazyExtras, so it’s very easy to install them. Run :LazyExtras, select the plugins, and then install them with II.
To install One Dark, you must create a new file in ~/.config/nvim/lua/plugins/ containing the following code:
Other useful tools
While exploring Omakub’s repository, I also learned about other useful tools that I’ve now included in my daily workflow:
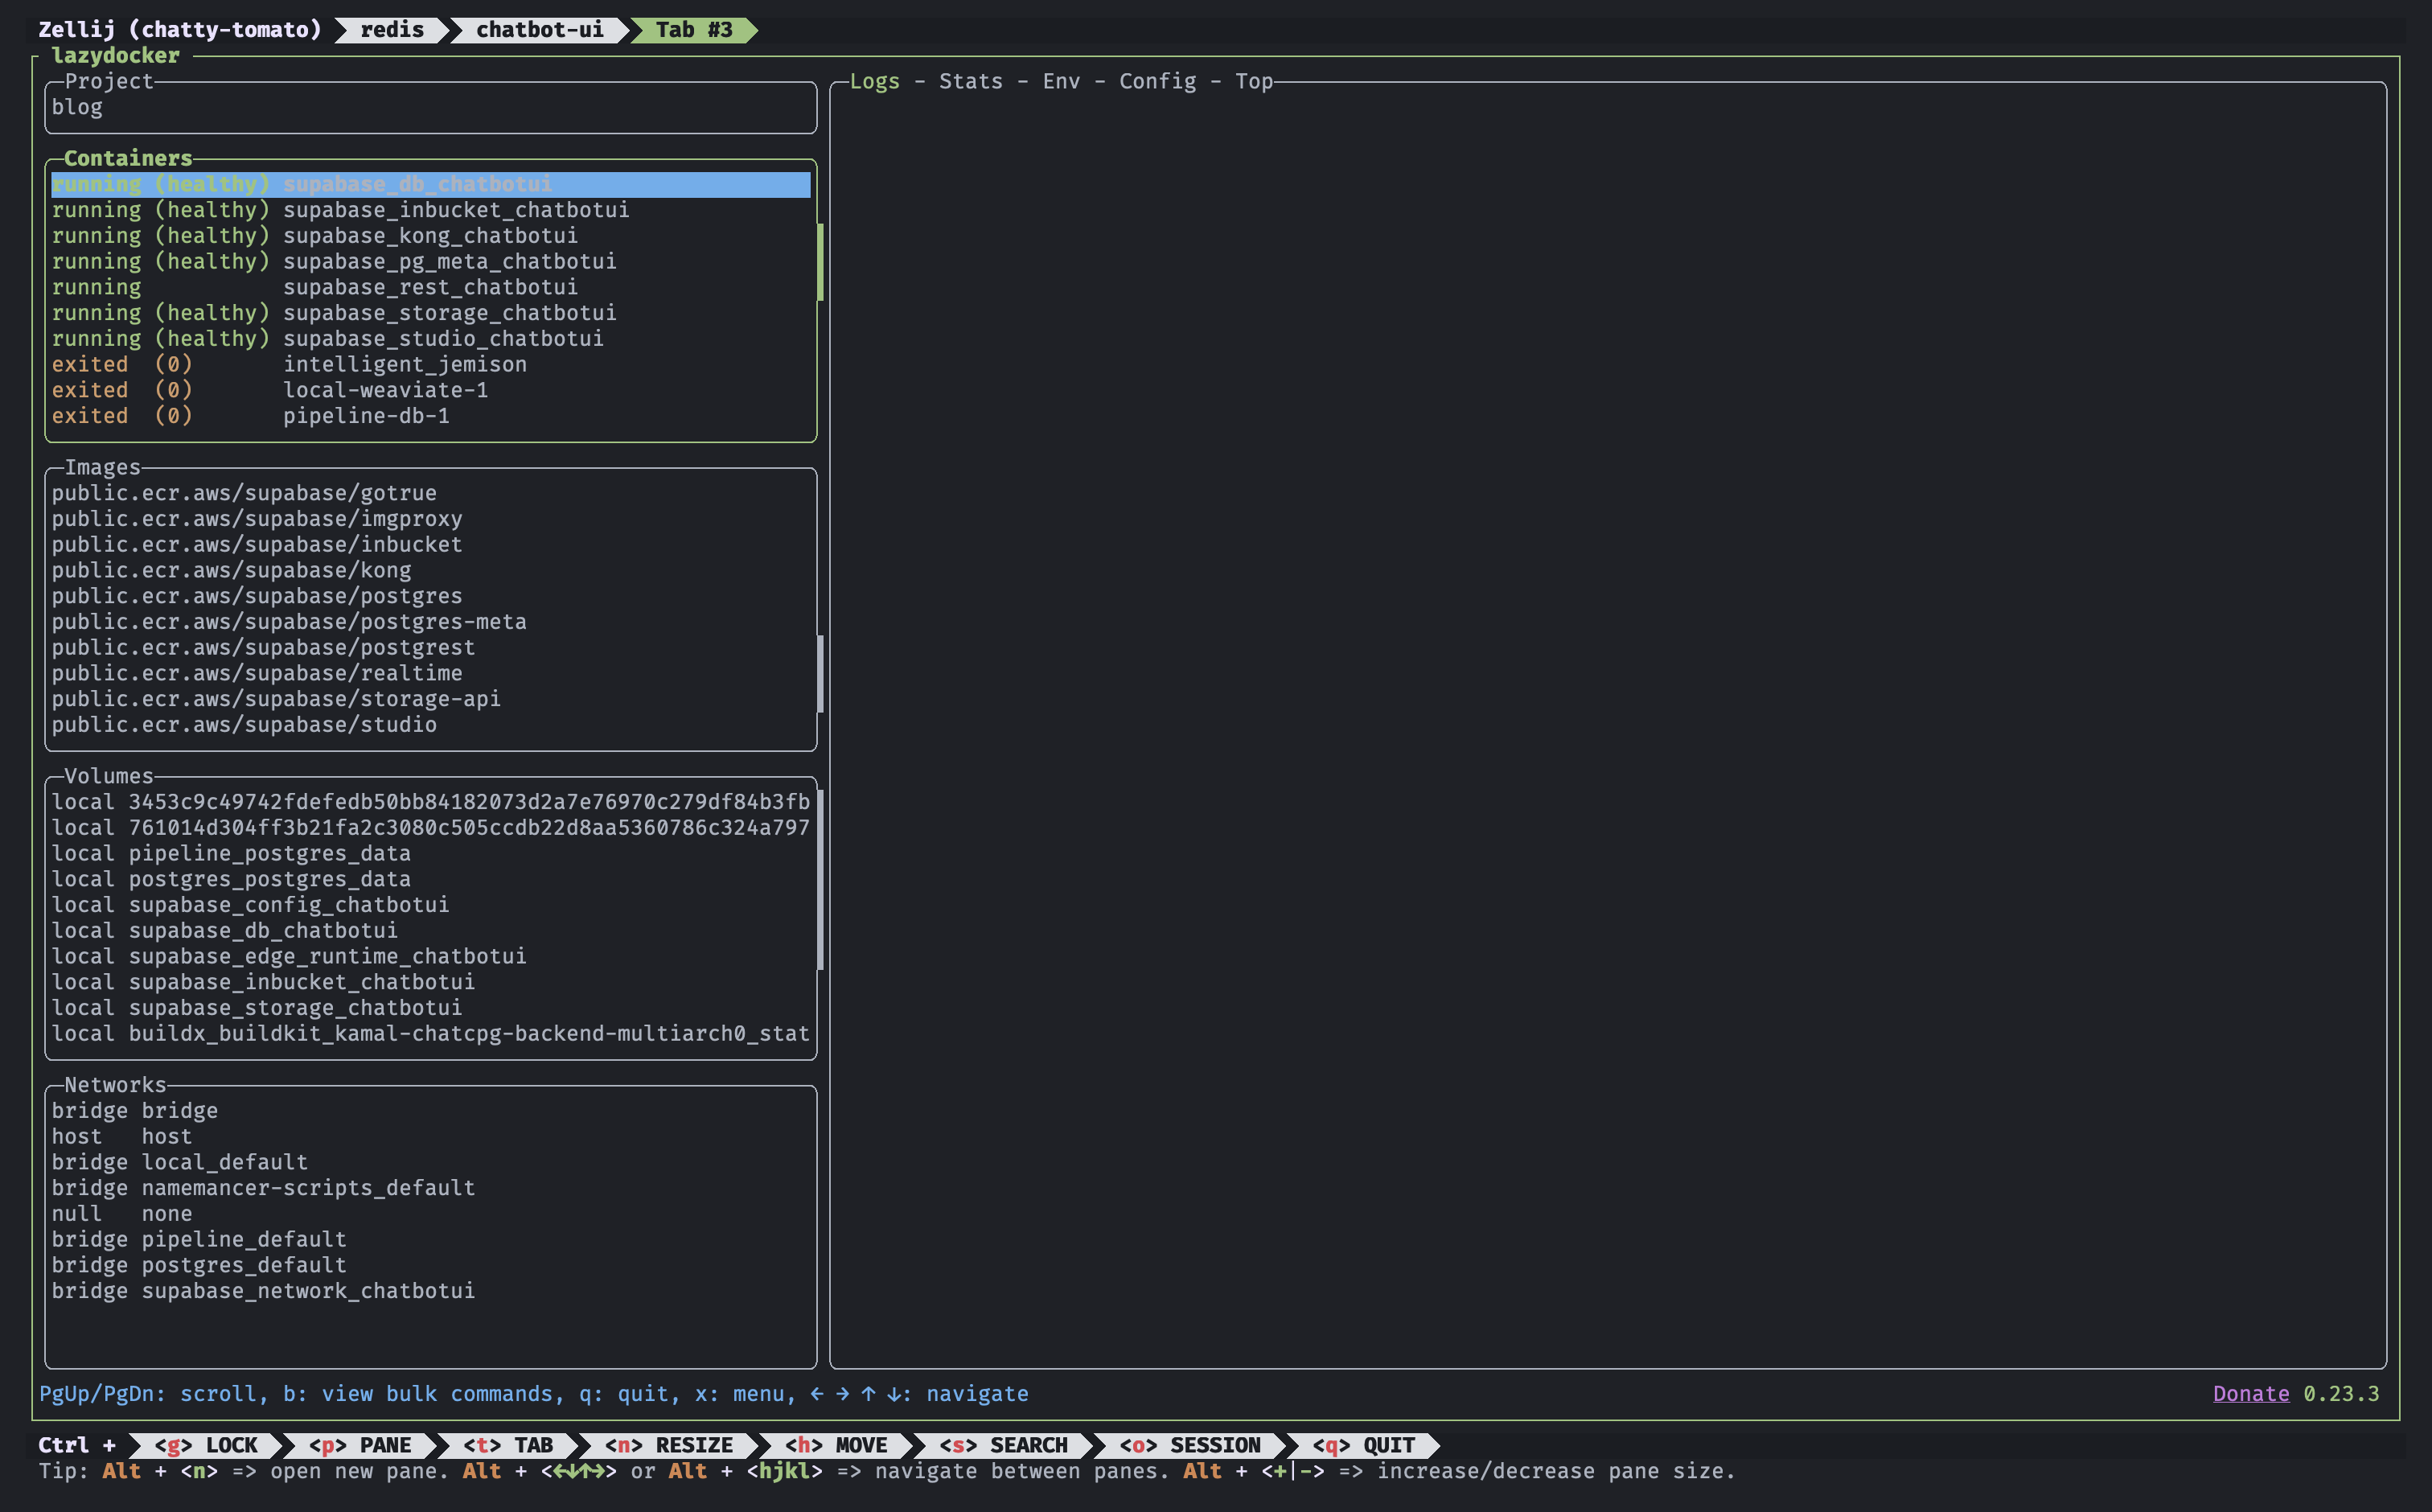
lazydocker
lazydocker: A simple terminal UI to manage everything Docker. Much better than everything else I’ve used.
Docker is great. But, until now, the experience of managing Docker containers sucked.
Take a look at the main screen:
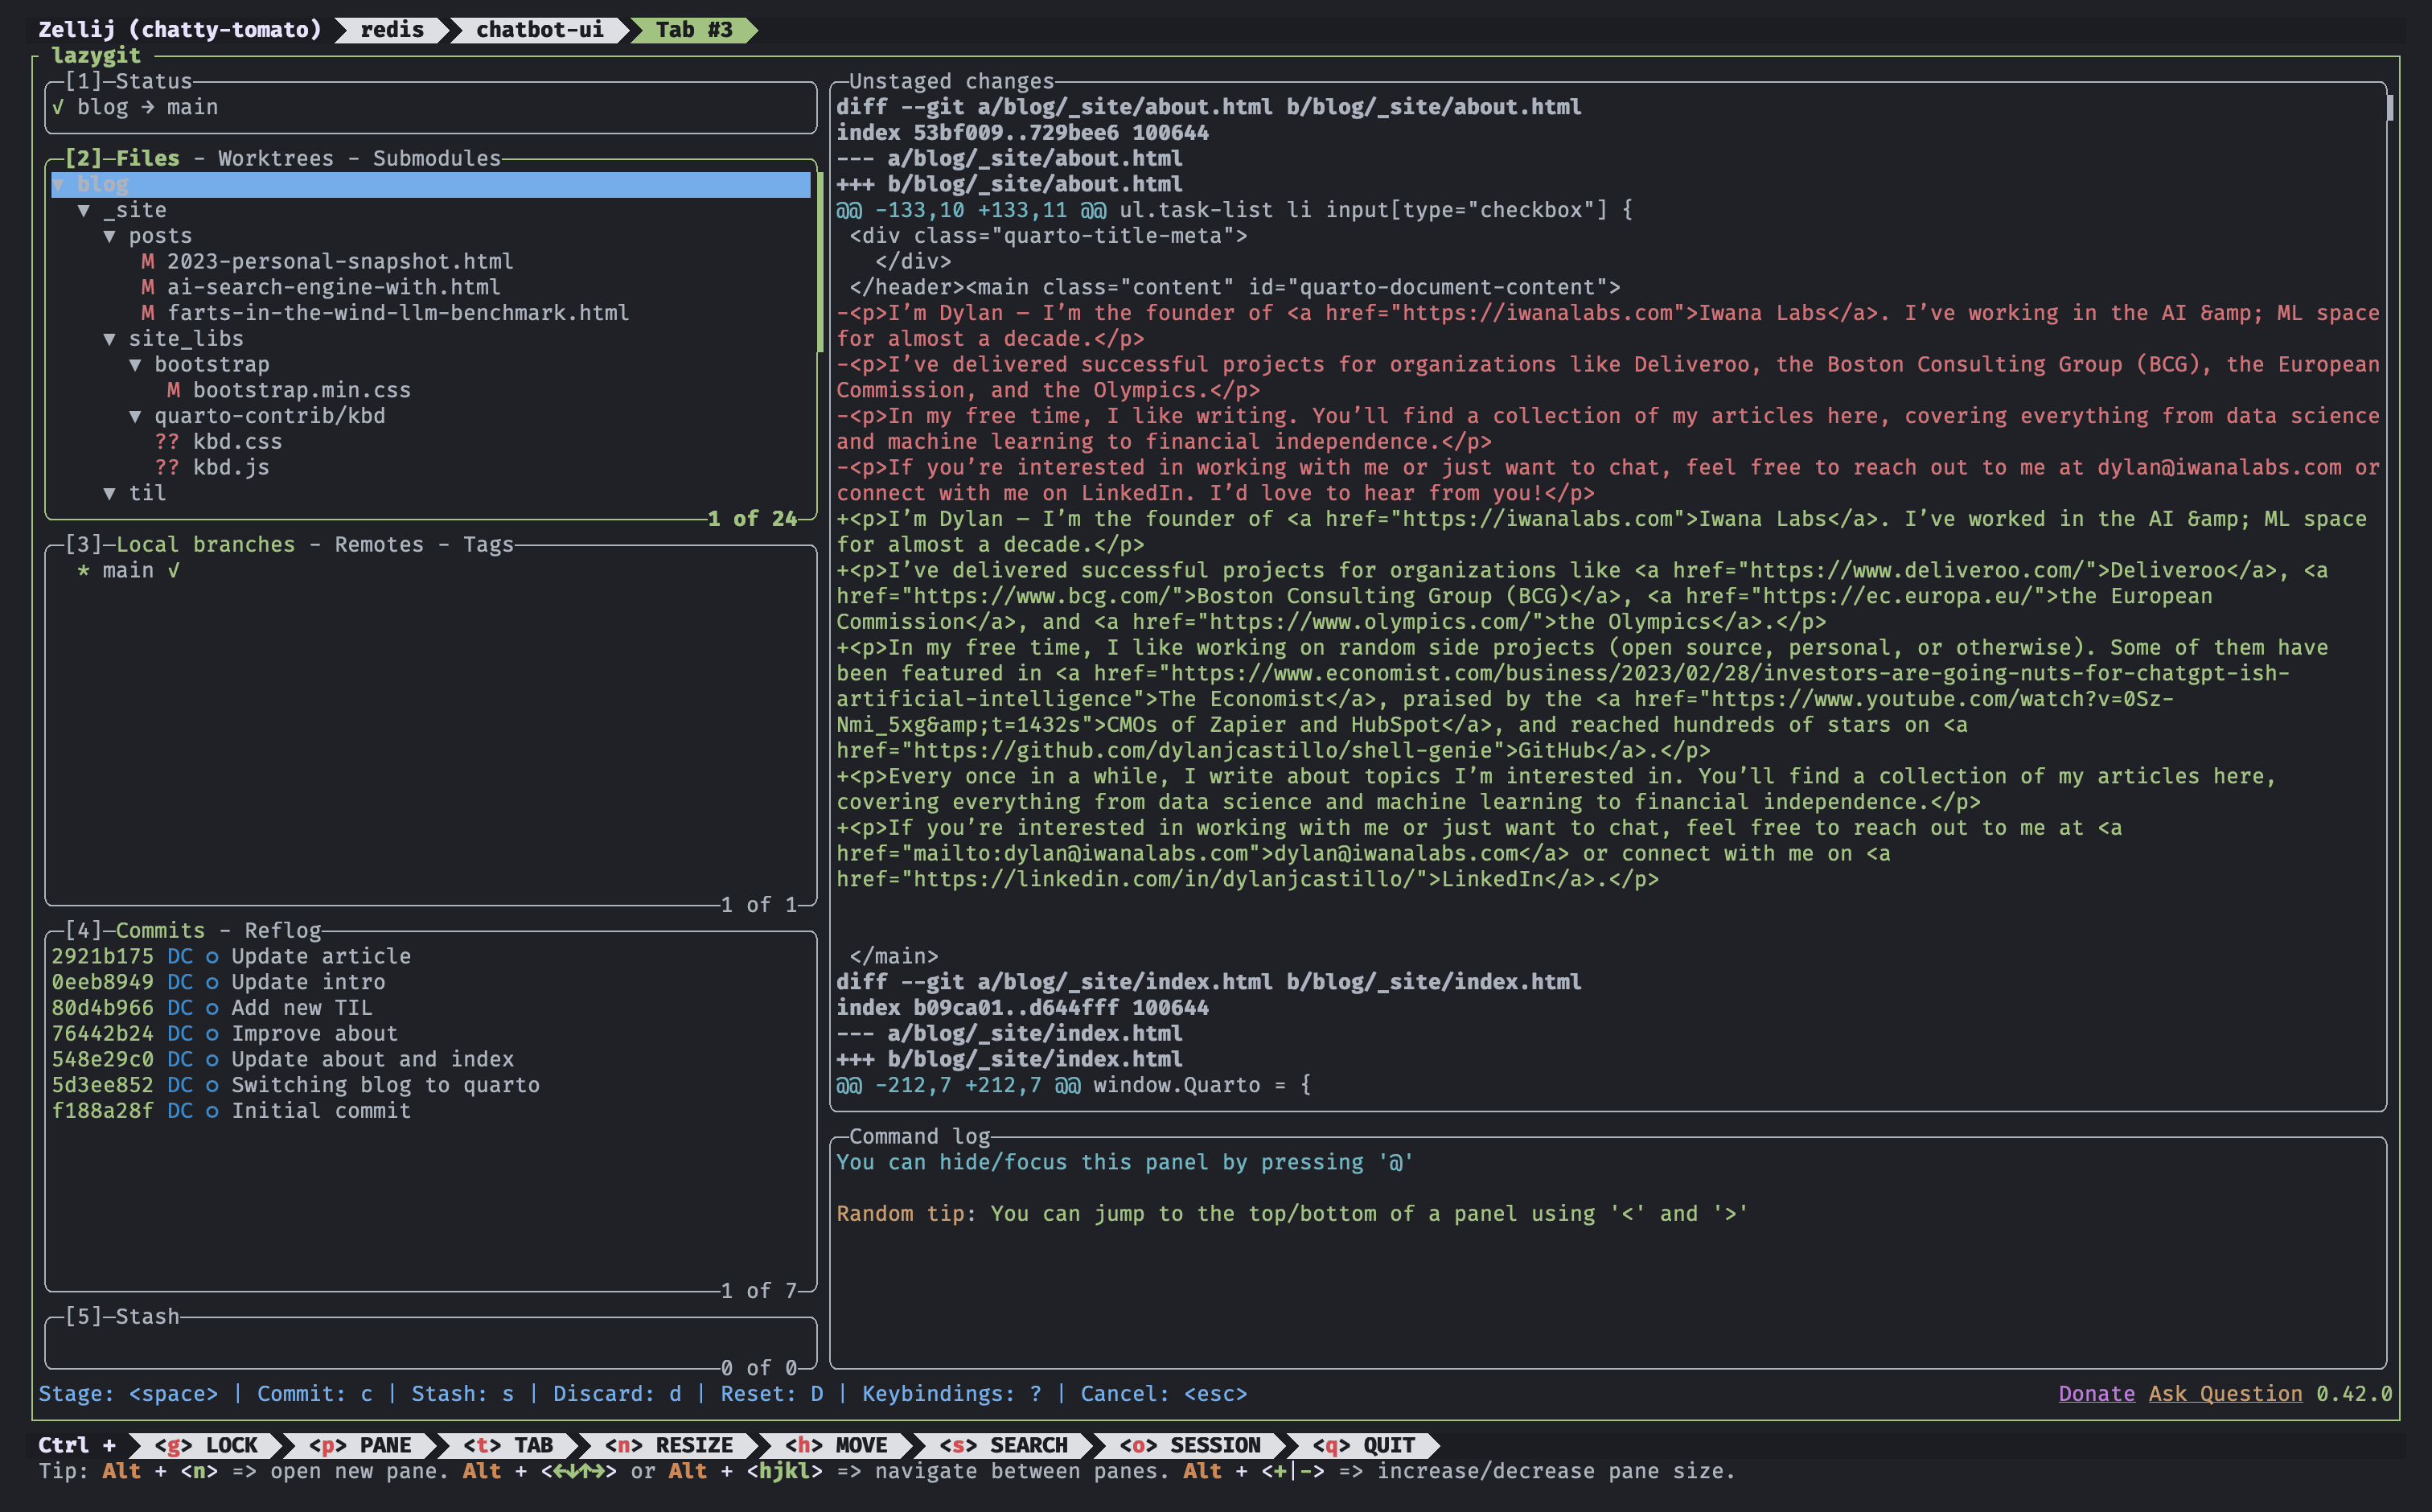
lazygit
lazygit is a simple terminal UI for git.
I’ve found it better than GitHub Desktop when doing complex operations.
Here’s a screenshot of the main screen:
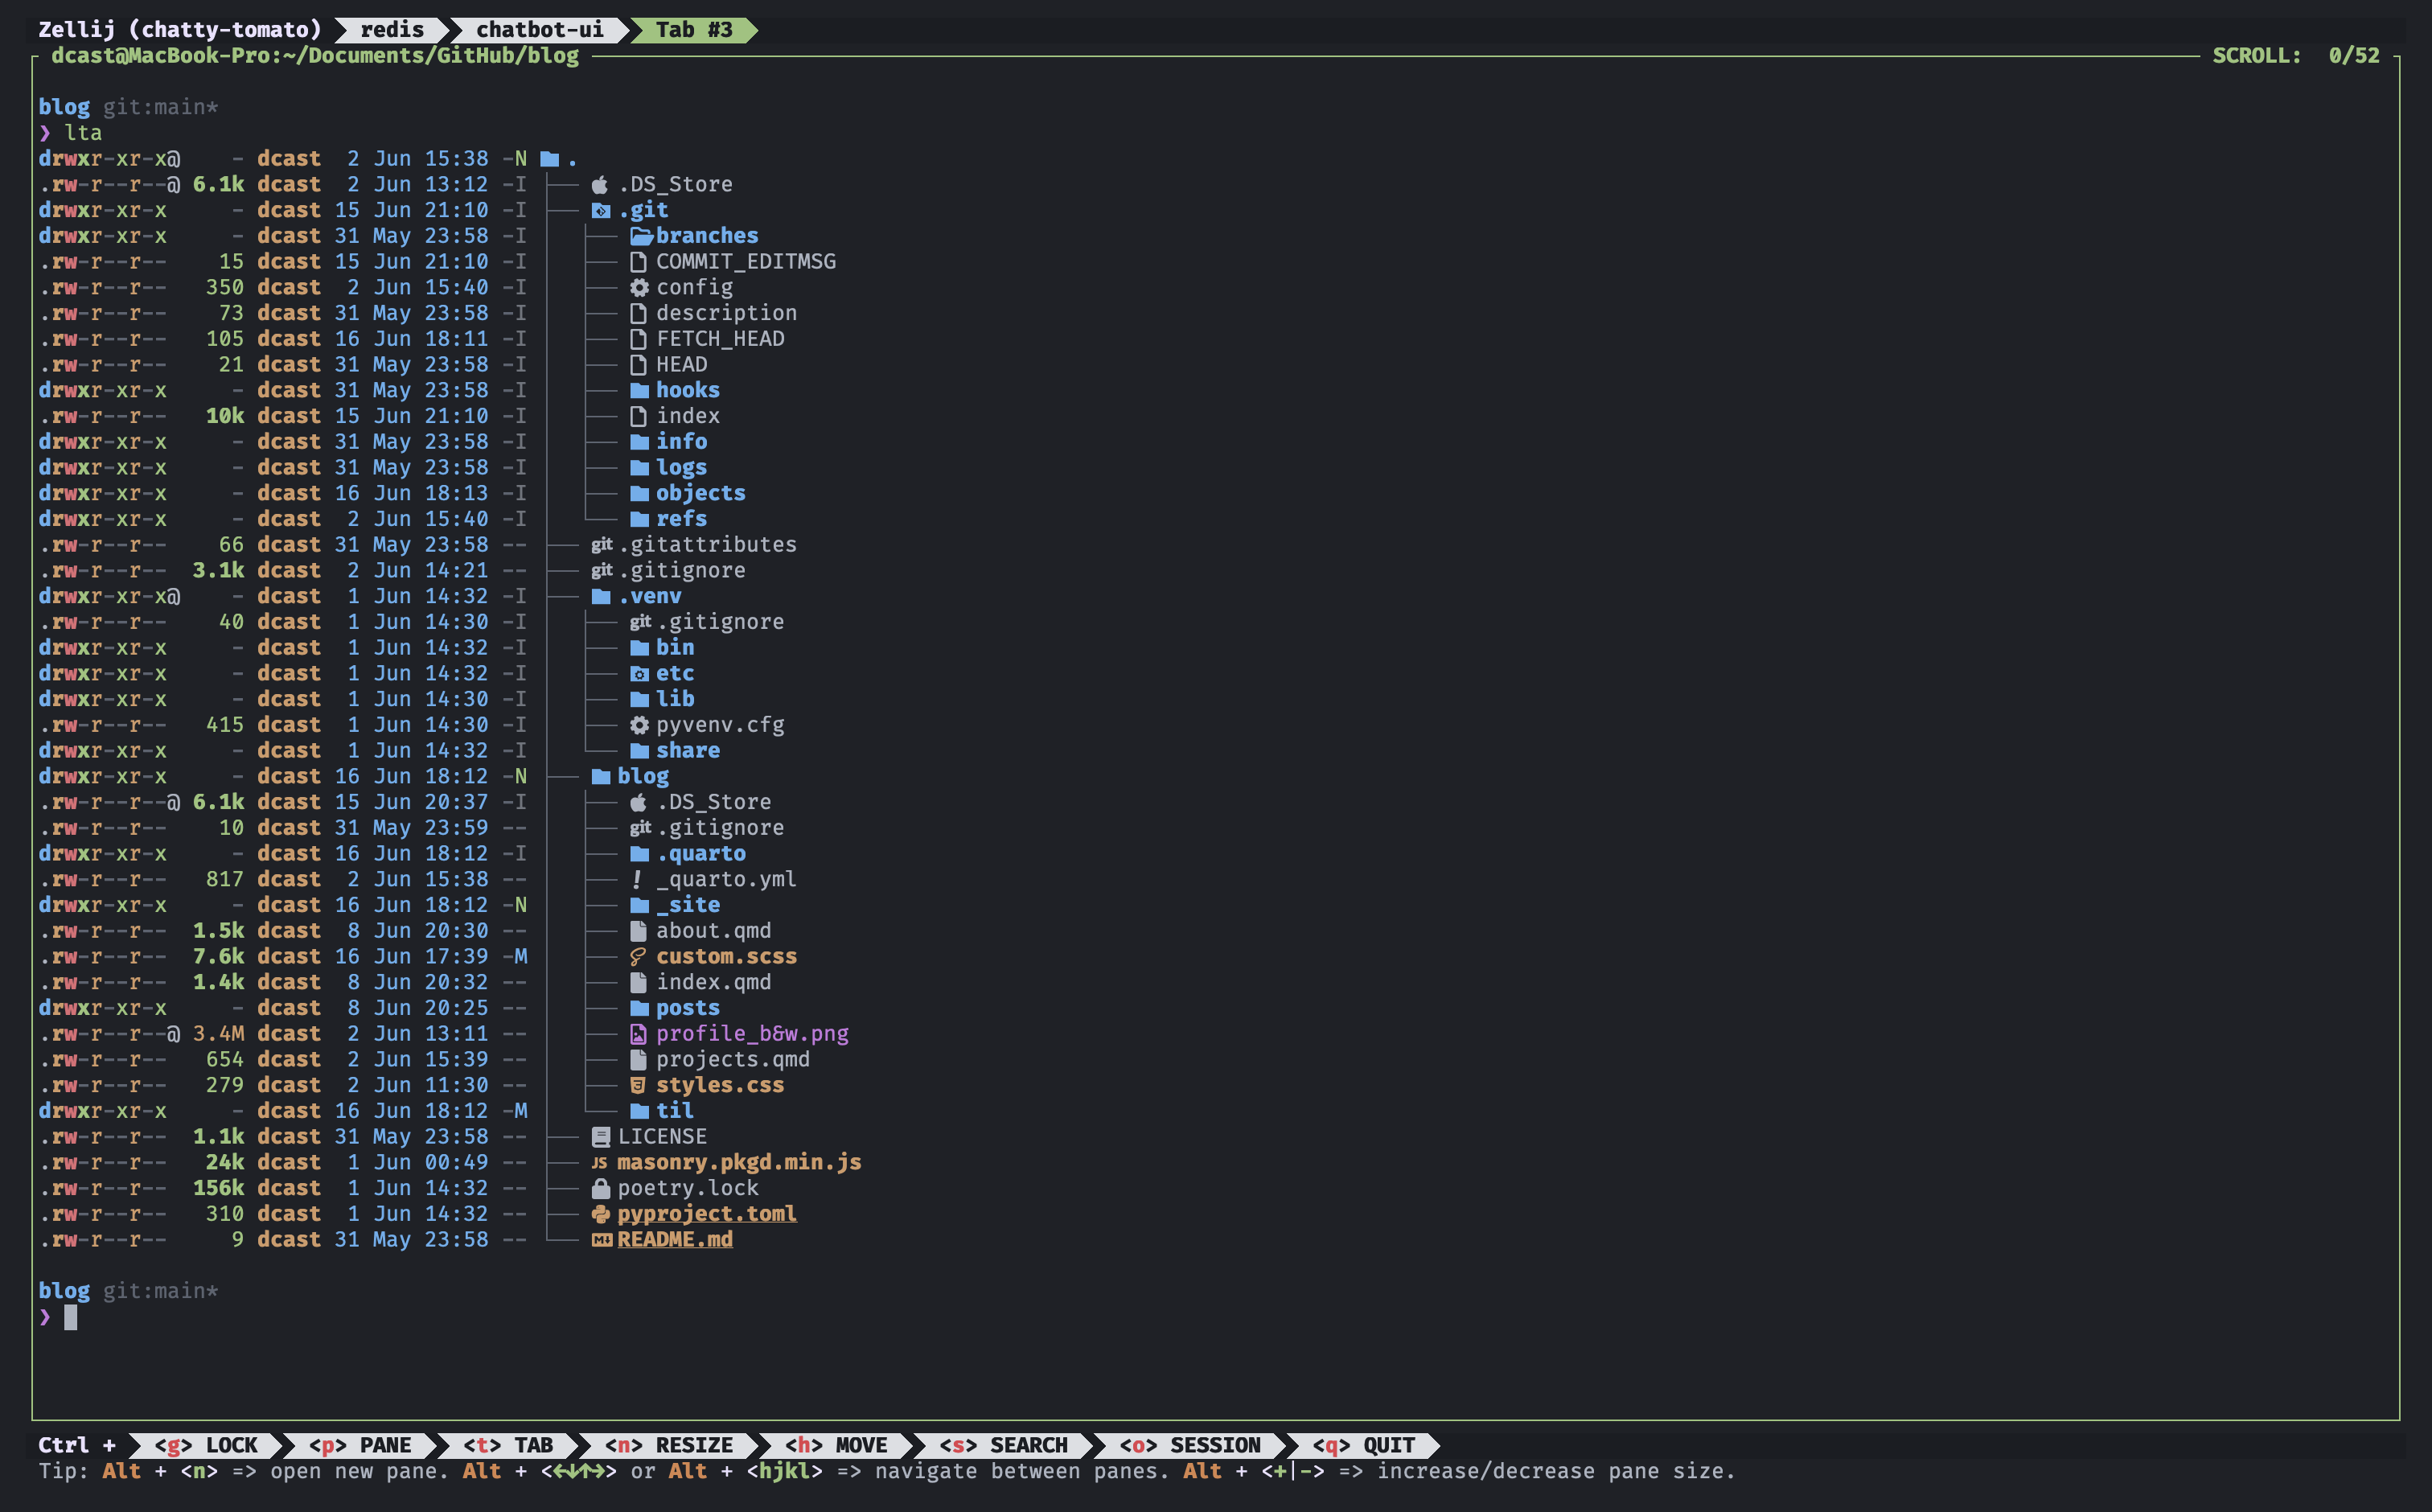
eza
eza is an improved version of ls.
I also added a couple of aliases from Omakub:
If you run lta you’ll get a nice view of the current directory.
Conclusion
That’s all. I hope you learned something from this post or, at least, got a cool looking terminal.
There’s nothing else to say except that I’m never going to recover those 4 hours of my life.
I should get back to work.
Footnotes
I’m sure you’re itching to explain how I’m completely wrong about this, and how you haven’t had to fix anything in years. Please reach me at [email protected]↩︎
Can you even install Ubuntu on a Mac?↩︎
Including its horrible website.↩︎
Citation
@online{castillo2024,
  author = {Castillo, Dylan},
  title = {Installing {Alacritty,} {Zellij,} and {Neovim} in {macOS}},
  date = {2024-06-08},
  url = {https://dylancastillo.co/til/install-alacritty-and-zellij-in-macos.html},
  langid = {en}
}